Showing posts with label d-i-y project. Show all posts

Friday, April 10, 2020

Couch in a box

I have been shopping for a new couch for three years. 
I went into one real store and left feeling totally overwhelmed by the experience
and underwhelmed by the pushy salespeople.

My online shopping forays were equally terrible –
too many choices and contradictory customer reviews, and 
how in the heck are you supposed to decide if a couch is comfortable 
if you can't sit on it?

Then there were the delivery issues. All of the online retailers I tried
insisted on a physical address for delivery, which I simply do not have.

Finally, in mid-February, I found a couch that I liked 
and it could be shipped via UPS in a box.
  
Actually, three really heavy boxes.
But before I unload the whole adventure on you, let's back up a bit.


My UPS packages are usually delivered to a dropbox on the side of the highway. 
I figured it would rain on delivery day and didn't want my new couch to get wet,
and how would a couch fit into the dropbox anyway?
So I re-directed the delivery to a UPS customer center in Albuquerque.
Alex and I drove there on Tuesday to pick it up.


I stood by myself in this lobby for 10 minutes waiting for someone to appear at the counter.
Luckily, Alex could keep an eye on me from the truck because she has been known to 
jump up and down on the doorlock when she misses me, 
which sets off the alarm system, which causes much chaos and embarrassment.

Anyway, GrumpyUPSman finally shows up, complains about the size and weight of my boxes, 
shoves them across the floor and leaves me to my own devices 
to haul them and lift them into the truck. Oh well. 
It would be good practice for unloading them once I got home.


One last look at the old couch before I bring in the new one.


Alex: WTF? Where am I supposed to take my nap?


As I began unpacking the boxes, it occurred to me that 
it would be awhile before I could sit on my new couch. 


Assembly would be required.
Funny how I hadn't noticed much mention of that on the vendor's website,
but how hard could it be?


When I found the boxes of parts and instructions, 
I was incredibly impressed that the vendor included an electric screwdriver.


Then I was incredibly distressed to find the sheer volume of screws that had to be screwed in.

The instructions seemed clear enough until I got to step 1 and spent the next two hours
Face-timing with a very helpful customer service agent as we tried to reconcile a discrepancy
between the written directions and the accompanying illustration. 
Turns out the illustration was incorrect and no one had noticed it before.


Then I ran out of energy to finish the assembly and called it a night.
Alex was okay with that, having found her napping spot in the dining room.

Before I took a nap of my own, I re-visited the vendor's website to see how 
I missed the part about "lots of assembly and physical strength and patience required."


I was already five hours into the project and couldn't stand up straight.
Tomorrow would be another day.


Lo and behold, after a few more hours on Wednesday, I finally have a new couch.
It's very sturdy and comfortable, I love the color, 
and – most importantly – I can stop shopping for a new couch.

Now I have to start shopping for a new coffee table because the old one is too big and looks weird.
I'll be looking for something pre-assembled.


Monday, April 29, 2019

It's been so long I may have forgotten how to do this

I never intended to stop blogging. It just happened –
no particular reason other than I haven't felt like talking.
This malaise began in early November 2016 and I don't expect
it will end before November 2020. You can figure it out.

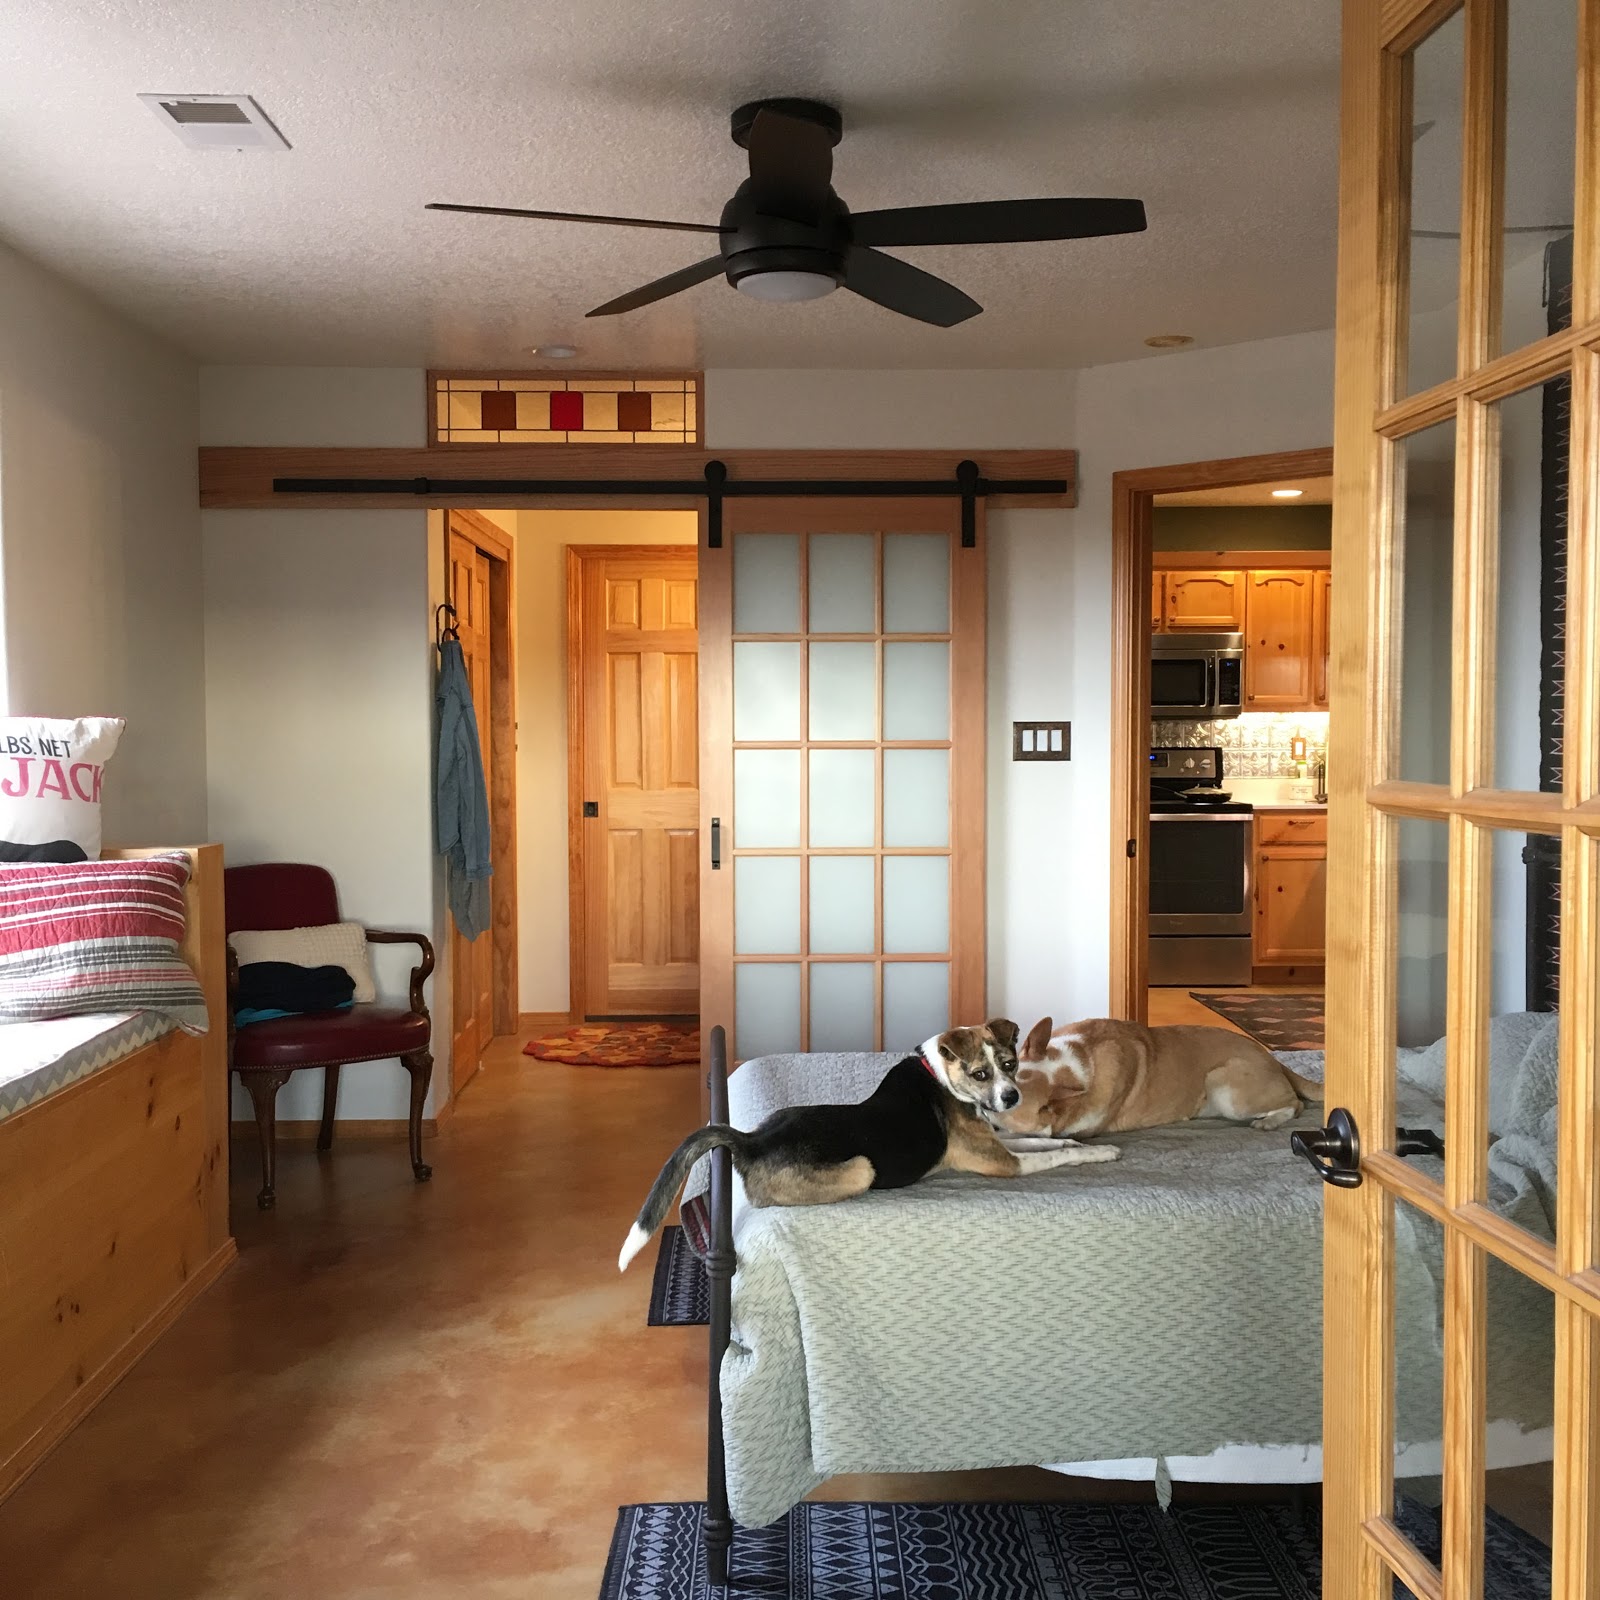
 When last we gathered here, the door installation was mostly done,
 but it pointed to a plethora of projects that would have to be accomplished
before I could call the room complete.


I wanted to simplify the color palette, so covering up the green walls
with an off-white seemed like a good place to start.

Besides, I had to get the painting out of the way before I could hang
the crown jewel of the door project:

 I found a glass artist on Etsy to create a transom window 
for the empty space above the door.


 It makes the room seem taller and I am thrilled with it.
And how about the lovely chewed edge of the quilt?
Nicely done, Alex. 


Can you believe how long her tail is?


Me neither.


These two. It may look like they were posing for a yearbook photo
but they were actually watching bugs smash into the window.
Entertainment is cheap in the middle of nowhere.


 The new paint color helped me realize that the focal point of the room
should be the views out the windows, so I did not rehang most of the art
that had been on the walls. Not in the bedroom, anyway. 


 The outside of the house may be in danger of turning into a gallery of sorts
and I'm okay with that, except for the part where I realize
how badly this table needs to be sanded and repainted 
and my project list grows ever longer.


This is the part where Alex realizes she can break her pose and go play.


Anyway, back to the original bedroom project, which was crying out
for some softness to balance the other textures going on in there, so I ripped out
the barnwood that cased the picture window and replaced it with 11 yards of cotton gauze.

One more room picture, then I'll shut up about this project...for now.
I took this one while sitting on the window seat, using the phone's panorama option:


In the midst of all the d-i-y frivolity, the hockey playoffs began.
Perhaps if I had not put Alex's bowtie on upside down, the first round
would have had a better outcome.


It was not a happy ending for our team...


 ...but we're already looking forward to next season.
With any luck, I'll feel like talking/blogging again before then.


Monday, March 18, 2019

All's well at the 7MSN

 Except for the occasional morning rainbow, not too much is happening at the ranch,
which is just fine by me.


 Smooch is almost back to normal after her bout of old dog vestibular disease.
She's eating well and going for at least one long walk a day.
She's still a little unsteady but is once again able to jump up on her favorite chair to sleep,
which means I can sleep, which means I have no excuse whatsoever for not blogging
for almost a month, except that it's the homestretch of the regular hockey season
and you may not hear from me again until after the playoffs in June if my team keeps winning.
Misplaced priorities, I know.


 Alex is...so many things. 
Despite her focus and intensity, she is not a good watchdog,
barking at all the wrong times and mostly never.
Her favorite foods are cow poop and the edges of comforters and pillows.
 She has yet to shed since coming to live here.
Not sure what's up with that, but I hope it never changes.
Her exuberance for life in general does not waver...


 ...nor does her total devotion to me.
I can see this becoming a big problem down the road but so be it.


Riding in the cart at the home improvement store remains one of Alex's favorite things,
which is very good because the sliding door I installed in my bedroom 
has inadvertently become the catalyst for a host of other projects.


The old ceiling fan, installed when the house was built 14 years ago, had to go.
I forgot to take a before picture, but it looked just like this one in my office:

Too big, too brassy and too blchh. What was I thinking?


So now I have a ceiling-hugging version, which turned out to be
very easy to install once I got past the head-scratching wiring part (thanks, Tall Paul!)
But then the light fixture in the dressing area didn't look right,
and I might be tired of the green walls, and the comforter with the chewed edge
doesn't look great with the new rugs so yeah...one thing leads to a hundred others.

All of which is to say there might be some interesting "after" pictures
if I ever get to the point of calling this room done.


Meanwhile, know that we're still here and all's well.


Monday, February 11, 2019

How to install a sliding door by yourself, part 1

You're probably thinking I dropped the damned door on myself
and have been trapped under it since my last blog post.
Not so. 

The sliding door installation project (click here if you missed the video preview)
has actually been moving along quite well. In fact, it's almost done.
And as yet, no major fuck-ups! 
I did think I was in way over my head on this one,
but with a little help from above, so far, so good.

Let's start with a quick overview of what I'm trying to accomplish.
Here is the official "before" picture.

The goal is to install a sliding door across this opening in my bedroom.
This will involve:
1. Buying the door.
2. Getting the door home without breaking it.
3. Buying a board on which to mount the track on which the door will slide.
4. Removing the wall sconce and replacing it with a can light in the ceiling. 
5. Attaching the board to the wall in the right place.
6. Attaching the track to the board in the right place. 
7. Sanding and sealing the board and the door.
8. Hanging the door on the track.

My previous glass-door hauling experience came in handy,
as did a little rope, a little cardboard and a few bags of chicken feed.
I scoffed at the drawing of two guys carrying the door on edge,
then improvised with a small furniture dolly,
toppling it over just once.


The door proved very sturdy. It survived the crash.
On to the electrical work.


This wasn't my first recessed light, and the hole-cutting and wiring hook-up went well,
as did the dozen or so round trips tiptoeing through the attic trusses. 


No legs crashed through the ceiling during the installation. Score!
Next up, fix the hole left behind by the wall sconce.
Look closely at the wall to the right of the ceiling fan pull chains
and you'll see the terrible job I did the last time I patched drywall.
This time would be different because YouTube.


It taught me about these 3M wall repair kits. Who knew? 
They work as advertised. Score another one for me.


I sourced a lovely oak board at a lumber yard in Albuquerque
and set up a temporary wood shop in the yard.
Fake carpentry is fun when it can be done in the sun.


I moved the sanded board to its approximate destination and contemplated my next move.
It needed to be screwed into the studs about 10 inches higher 
than where you see it now atop the ladder.

Hmmm.

I went into the garage looking for something 10" high, sturdy enough 
to hold the weight of the board, yet small enough to fit atop the ladder.
In a moment of divine intervention, my eyes immediately landed
on a milk crate.


It was the exact height and shape I needed to hold up the board.


Now this isn't just any old milk crate. My dad made a lid for it and checked it as baggage 
one time that he flew out here to help me with some project or another. 
How else would you get a circular saw on a plane?

 Anyway, he handed down the saw and the crate to me, 
along with a treasured cache of knowledge about building and fixing things, 
and excuse me for a moment while I reflect upon 
what a lucky girl I am to have had him as my dad.

Yeah, so it seemed like he was here with me every step of the way on this project.
As were Danni and Tall Paul. 
Did you see that fancy digital laser level two pictures back? 
Birthday gift from them because they knew this project was in the works
and thought I might need it. Did I ever!

With my improvised board-holder-upper and the world's coolest level,
it was easy to screw the wood into the studs and keep it straight.

I countersunk the 4" deck screws, filled the holes with wood putty,
then applied four thin coats of polyurethane, 
lightly sanding the board between coats because the can said I had to,
and making a gargantuan mess and stench in my bedroom.
So maybe I should have done the polyurethaneing/sanding
before I hung up the board, but I figured I'd scratch the hell out of it
trying to get it up there, and oh well.


Ta da!


Meanwhile, over in the garage, I was polyurethaneing/sanding the door.


Then it came time to decipher the instructions for mounting the hardware –
very few words, just illustrations and lots and lots of measurements.
Oddly, it seemed to make sense.


Here we are back at the ladder and milk crate,
with a boost from a hunk of 2x4 to raise the metal track to the right place
and a couple of clamps to hold it still while I leveled it and drilled in the screws.
I wonder if real builders use makeup removal pads with their clamps to prevent scratches?
If not, they should.


The hard parts are over.


You: Why didn't she paint the drywall patch before hanging the board?
Me: I don't have much green paint, so I'll do all the touching-up
at the same time, once the door is hung and the wall-nicking is done.


Back to the cold garage we go to sand and seal and sand and seal
the door a few more times, except it's so cold now that the sealer
is taking forever to dry.


 So yesterday morning I moved the door to the sunroom,
where I'll seal-and-sand x 4 the remaining side and it should dry faster.


Assuming all my measurements were correct (let us now bow our heads in prayer), 
the next time you see this door, it should be in its final resting place.